Cosmetic dentistry continues to become extremely common as every year passes. People are becoming much more accustomed to the idea of smile makeovers and other cosmetic dental procedures, in order to enjoy natural looking restorations which instill within them a greater sense of confidence and pride.
For a restoration to not only look beautiful but to also look natural, it is imperative that it match the natural shade of the teeth.
A dentist who fails to appraise the right color match can easily shortchange the patient, thus leaving a bad taste in their mouth, as well as a bad color. A dentist who is thorough and takes pride in their patients will want to make sure that they are working with a certified cosmetic dental lab for these shadings, and that the best, most accurate information is passed on to the lab in a very clear and communicative manner.
Working Closely With a Certified Dental Lab
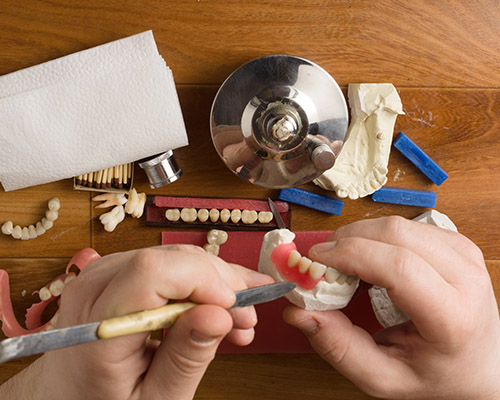
Success at cosmetic dentistry to a large degree depends on effective collaboration with the dental lab. Dentists should work closely, and communicate freely, with their dental lab to get the ideal shading on their products. The patients trust what they hope is a reliable and quality dentist for their restorative work when they are dreaming of their perfect smile. Helping the dental lab produce the perfect color match is one of the most vital steps in any type of cosmetic dentistry procedure.
Cosmetic Dental Shading Has Changed
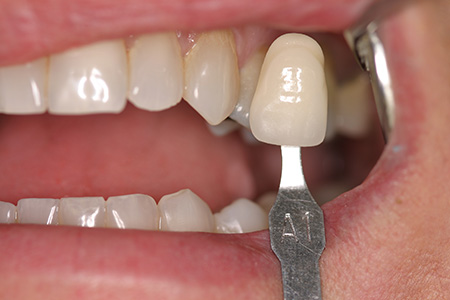
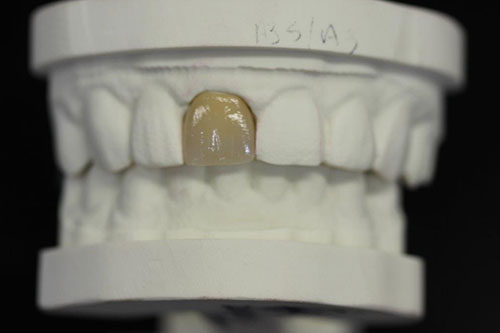
In days past, dentists simply had to hold a shade tab against their patient’s teeth, write the number down, and pass that data on to the cosmetic dental lab. These days, it is no longer sufficient simply to write “A3” on the lab sheet.
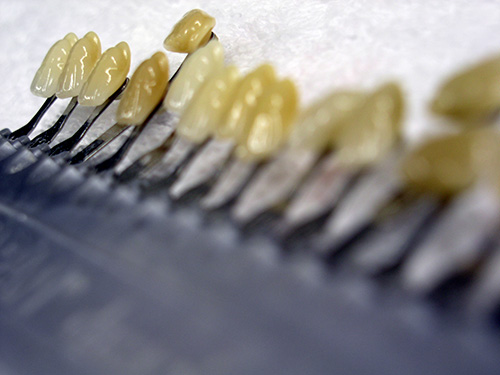
Dentists now realize that, while still beneficial, the VITA shade guide tabs do not always indicate the perfect match. Enamel and dentin have distinct characteristics. The correct match is likely to involve not just a single shade but a blend of several shades. A custom coloring, if you will. To get the precise color match, it will require more than just mechanically going over a shade chart and check one option.
It is not expected that the dentist has to be the shading expert to get the right match. However, it is anticipated that a little more work and effort will be put forth to facilitate a process that can assist the dental lab in providing the correct shade. They are the ones expected to be the professionals in color matching, material use, and restorative techniques

To that end, the following are helpful tips that usually help the lab yield better results, in a quicker time frame.
• Take pictures.
Good, clear, images is a useful and precise way to get the right shade information to your dental lab.
• Use a top-quality camera.
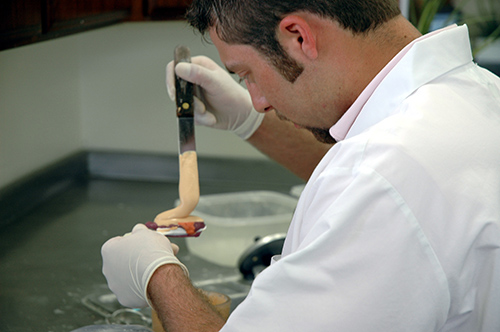
A professional-grade camera allows a dentist to capture and communicate the exact shade. An SLR (Single Lens Reflex) camera with flash and macro lens will capture the right shade, texture, and other distinct characteristics (shape, size, translucency, among others) of a patient’s teeth.
Getting a professional camera, and knowing how to use it effectively, can help a cosmetic dentist become a more expert craftsman. It will help provide the high-resolution images which can give the dental lab the critical information. Thus allowing the certified dental technicians to produce the ideal product. The patients will be happy to see the results of this thorough work.
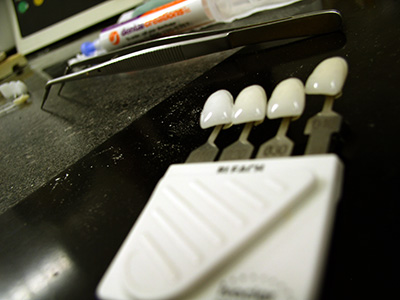
• Do not limit photos to just one shade tab.
It is highly likely that a few shades will be a more accurate representative of the patient’s teeth. By selecting more than just a single shade tab, the cosmetic dental lab has the opportunity for comparing the elements affecting color when they look at multiple photographs.
• Make sure that a stump shade is included if an all-ceramic tooth restoration is being recommended.
The dental lab needs to know the color of the prepped tooth so they can achieve the highest degree of color match and fine aesthetics.
• When a photograph is taken, make the tab identifier (D3, A2, C4, etc.) highly visible.
• Keep both the shade tab and the teeth at the same angle.
Keeping both at parallel orientation allows the light to reflect on them in the same way.
• Do not limit pictures to only the treatment room.
Try to take pictures under different lights.

• Pay attention to other details.
It is important to remember to pay attention to all the other details to produce restorations that look the most natural. It is critical that shade, as well as texture, characterization, and other small but critical nuances, are considered. How is the shade dispersed across the tooth? Are there any lumps or indents on the surface?
Drawings, no matter how detailed, will not capture these details precisely. Aside from taking shade tab photographs, try to get photos of the details in extreme close up. Use the appropriate macro lens to get a precise picture of the details.
When a quality dental lab is given all the necessary information, they are in a much better position to emulate not only the precise shade, but also understanding the little characteristics and details like tiny incisal chips, craze lines, and other interestingly fine points that will give the restoration its natural look.
It may take a few extra minutes to collect the images and information necessary for the lab to do what they are experts at, but helping the dental lab get the right information will help reduce the number of delays or returns resulting from lack of precise information. In the end, it not only means a better restoration, but it also means a much more efficient process, saving time and money. Using the right modern techniques helps turn in work that reflects great accuracy, and provide restorations that look both beautiful and natural.